


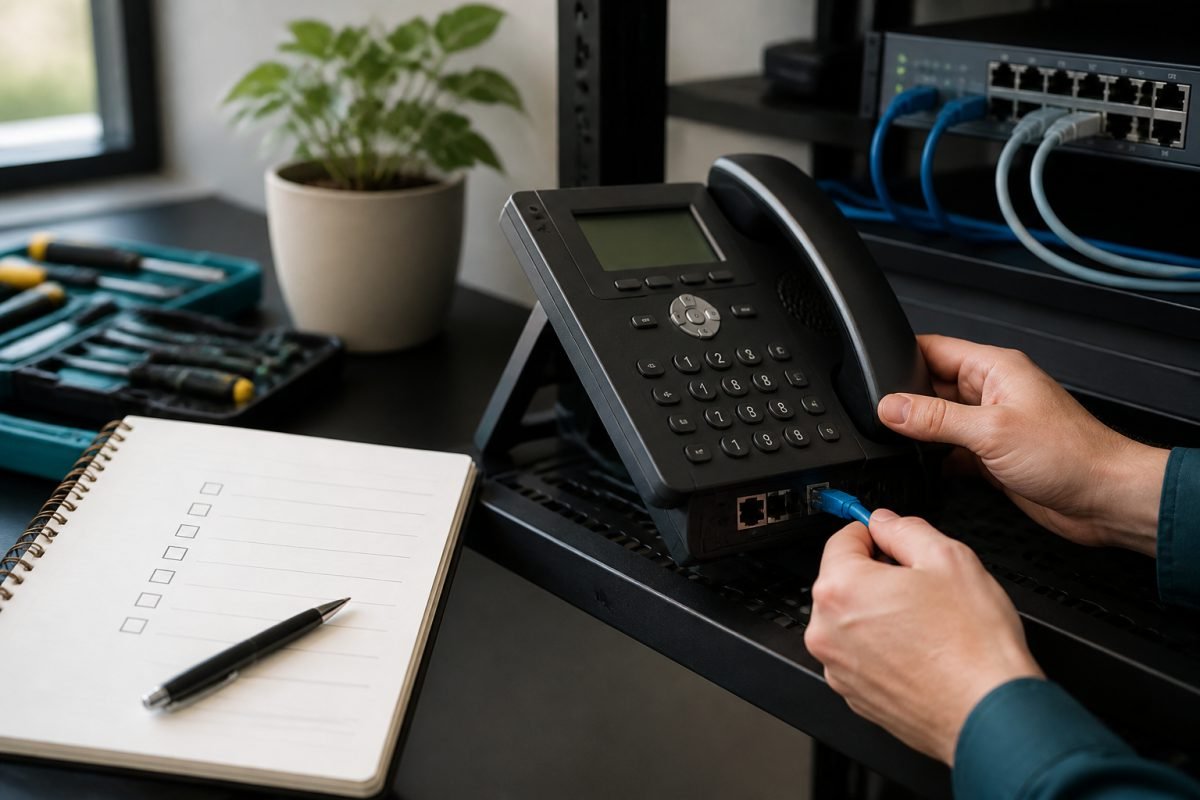
Buying Nextiva VoIP is easy. Buying it in a way that actually sounds professional on Monday morning takes a checklist. This guide covers network prep, device strategy, security, and a practical setup sequence for 2026 buyers.
Affiliate disclosure: TalkGrove may earn a commission through partner links.
Before You Buy: Network Reality Check
VoIP quality is mostly your network. Confirm upload bandwidth during peak hours, wired connections for reception desks, and whether guest Wi-Fi is isolated from voice devices. If video meetings already stutter, fix Wi-Fi before you port the main number.
- Run a VoIP speed/jitter test at every primary site
- Prefer Ethernet for high-traffic phones
- Enable QoS if you control the firewall/switch
Hardware vs Softphone Strategy
Most hybrid teams should start softphone-first, then add desk phones where customers expect a physical handset. That keeps capital costs down and simplifies remote onboarding.
Security and Compliance Checklist
- Enforce SSO or strong admin MFA
- Limit who can export recordings
- Document call recording consent language
- Review international dial permissions to stop toll fraud
- Set offboarding steps for employee exits
Recommended Setup Sequence
- Create org structure and roles in Nextiva admin
- Provision users and devices on temporary numbers
- Build auto-attendant and queues
- Train staff and run internal call drills
- Submit number ports with complete paperwork
- Monitor first-week analytics and missed calls
Budgeting Beyond Seat Licenses
Include headsets, possible switch upgrades, toll-free traffic, and a small contingency for parallel service during porting. The cheapest quote is not the cheapest cutover.
Further Reading on TalkGrove
Conclusion
A successful Nextiva purchase is a telecom change-management project. Validate the network, stage the configuration, and port last. Pair this checklist with our pricing explained article and small business setup guide before you sign.